When considering whether I could run a decent Pi-themed CodeClub I set the following objectives :
- One Pi per student
- Minimal use of step-by-step worksheets
- Keep equipment costs down
- Minimal disruption to school infrastructure and computing suite (mainly because everything has to be put back quickly at the end of a session).
I'd had a dry run of setting the Pis up before Xmas when I let my Yrs 3-4 club loose on a Pi Minecraft session in the final club of term. On that occasion I'd done a lot of initial setup prior to the children arriving (corralling the wired keyboards together and connecting the HDMI cables to the monitors) but today I did nothing in advance, and left them to gather the kit and figure things out themselves. They all got there in the end and it was great to see them all working together and helping each other out. The most common error was plugging the HDMI cable into the HDMI out socket on the back of the computer.
Worksheets
I felt that this cohort in particular had worked through a lot of worksheets last term and wanted to try to stay away from a very rigid 'working by numbers' approach. I also wanted to leave the children to explore and investigate things themselves, something I didn't think the DIY Gamer project particularly encouraged.So for week 1, I only had two handouts: One was a simple diagram of how to connect up the Pi which I'd used before...

...and the other was a list of useful Linux commands with some activities with which to test them out on the back.


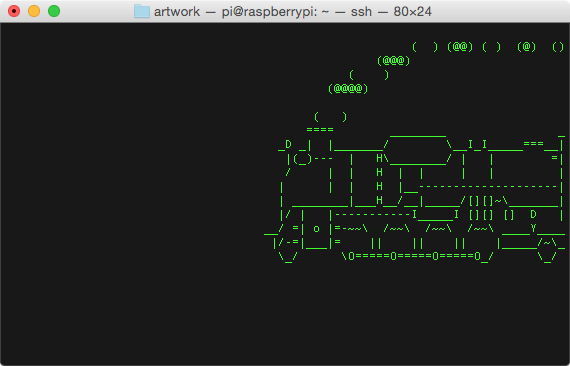
In support of this, I'd installed a few additional packages on the Pi images: fortune and sl (the latter produces an ascii art image of a steam engine that chugs across the screen). A fun surprise if you mis-type 'ls.
As I'd hoped, different children picked different commands to play with and investigate. A common (understandable) mistake was to just type the command name in isolation without any arguments. Obviously this works with some commands (e.g. ls), may produce nothing with others (e.g. cd ) or
just hangs the terminal (e.g. cat). By the end of the first session most were quite familiar with ^C.
The new Raspbian UI looks really good (especially with my custom wallpaper which has the school badge next to the Pi logo) and the kids liked messing around with the various things they found on the Desktop. Obviously Minecraft was a big attraction (distraction?), but I had a cunning plan: I'd already included a modified version of Raspberry Spy's excellent castle-building Python script on the SD card. In fact, things worked out perfectly because one of the children had been lurking at my pre-Xmas club when I'd showed this to the Yrs 3-4 group, and asked about it today. They were all really impressed with the results and hopefully this has whetted their appetites for future sessions of Python vs Minecraft.
Equipment
The school computing suite is very fortunate (thanks to fund-raising efforts of the PTA) to have some nice all-in-one PCs where the display and the computer are all a single unit. Some of the older ones don't have an HDMI input, but enough do for my club. Although the networking is wifi, there are some old CAT5 sockets dotted around the room so I don't have to buy and mess around with dongles. A lot of the machines in the suite have a Bluetooth keyboard and mouse (personally I find these really annoying as they're always needing new batteries or getting swapped around) but once again there are enough wired USB ones for me.In addition to the 10 Pis, I have also cobbled together:
- 10 4GB SD cards (all running the same starting image)
- 10 HDMI cables
- 10 CAT5 cables
- 10 mini 170 hole breadboards
- A few bags of assorted leds
- A load of jumper wires
- A collection of tactile switches
Most of the kit I acquired cheaply via eBay or Amazon. If you're willing to wait a few weeks for the items to come from China or Hong Kong then the prices are really good. In fact I'm still waiting for some buzzers and PIT sensors to arrive on the slow boat...
Things to do differently next time?
I thought I was saving paper by printing the command list and the sample tasks on a single, double-sided sheet of A4. However that just made it really awkward to have to flip the page over when referring to the command list to identify the appropriate command. Next time I'll just have two separate sheets...
For some reason apt-get update didn't work (timed out) even though apt-get install did work. I think this is an issue with the school network proxy. I'll try to investigate for next week.
We were all having such a good time that I didn't keep a close enough eye on the time. So when the session ended I hadn't asked the children to dismantle everything and put it all back when they found it. Consequently I had to do it all myself at the end!
Plans for next week
A bit more exploring the Pi environment then we'll start on some simple led lighting!
No comments:
Post a Comment